
Step-by-Step Guide to Using Nessus for Website Scanning
7/2/20252 min read
Introduction to Nessus
Nessus is a powerful vulnerability scanning tool that allows users to identify potential security weaknesses in their systems and applications. For new users, understanding how to effectively use Nessus to scan a website is crucial in safeguarding digital assets. This guide will provide a step-by-step process to get you started with Nessus.
Getting Started with Nessus
Before performing your first scan, you will need to install Nessus. It is available for various operating systems, including Windows, macOS, and Linux. Visit the official Tenable website to download the appropriate version.
Once installed, launch Nessus and create an account. The setup process includes choosing a username and password. After your account is created, it will take a few minutes for Nessus to initialize and update its plugins, which are essential for accurate scanning.
Configuring Your First Website Scan
With Nessus set up, you are now ready to configure your website scan. Follow these steps:
Log into the Nessus dashboard: Enter the login credentials you created during installation.
Select 'New Scan': From the dashboard, click on the 'New Scan' button.
Choose a Scan Template: Nessus offers various scan templates tailored for different purposes. For website scanning, select 'Basic Network Scan' or 'Web Application Tests' depending on your requirements.
Input Target Information: In the scan configuration page, enter the URL of the website you wish to scan. Ensure that you provide the correct URL format (e.g., https://www.example.com).
Adjust Scan Settings: Customize other scan settings such as port selection and scan schedule. You can set the scan to happen periodically or run it as a one-time process.
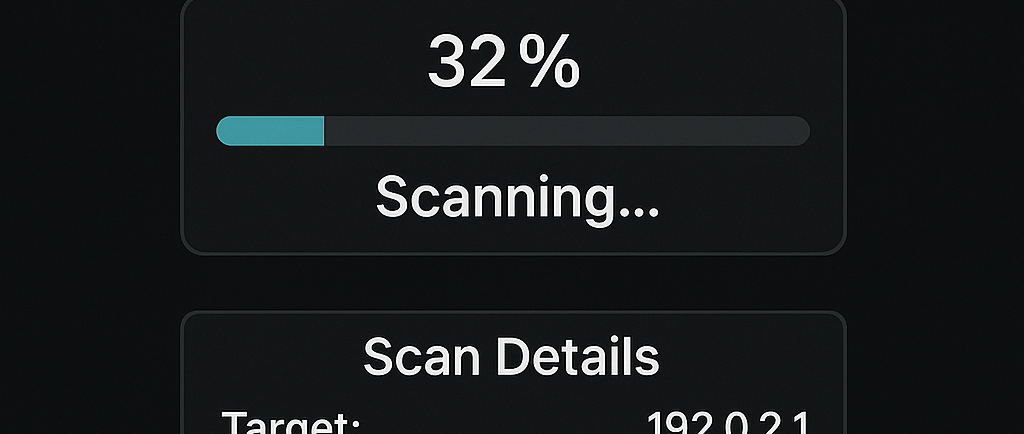
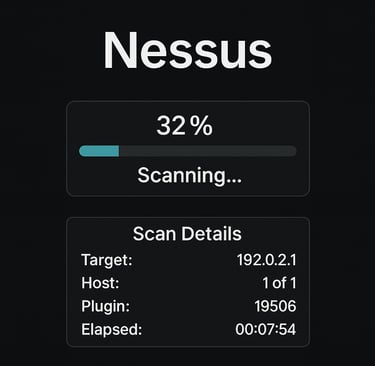
Save and Run the Scan: After configuring the options, click 'Save' and then 'Launch' to start the scanning process.
During the scan, Nessus will assess the website for various vulnerabilities, including outdated software, misconfigurations, and potential exploits.
Reviewing Scan Results
Once the scan is complete, Nessus will present the results in an easy-to-read format. You can:
View Vulnerabilities: Each identified issue will be classified based on severity (low, medium, high). Review these findings to understand what requires immediate attention.
Generate Reports: Nessus allows you to export the scan results as a report in various formats (PDF, HTML, CSV). This is beneficial for sharing findings with your team or stakeholders.
Take Action: Based on the vulnerabilities identified, implement necessary security measures. This may include updating software, patching vulnerabilities, or configuring security settings.
Regularly using Nessus to scan your website will help maintain a secure environment. Coupled with timely actions on the vulnerabilities identified, it will significantly reduce security risks.
In conclusion, using Nessus for website scanning is a straightforward process that can significantly enhance your website's security. By following these steps, new users can quickly navigate and utilize this powerful tool effectively.